


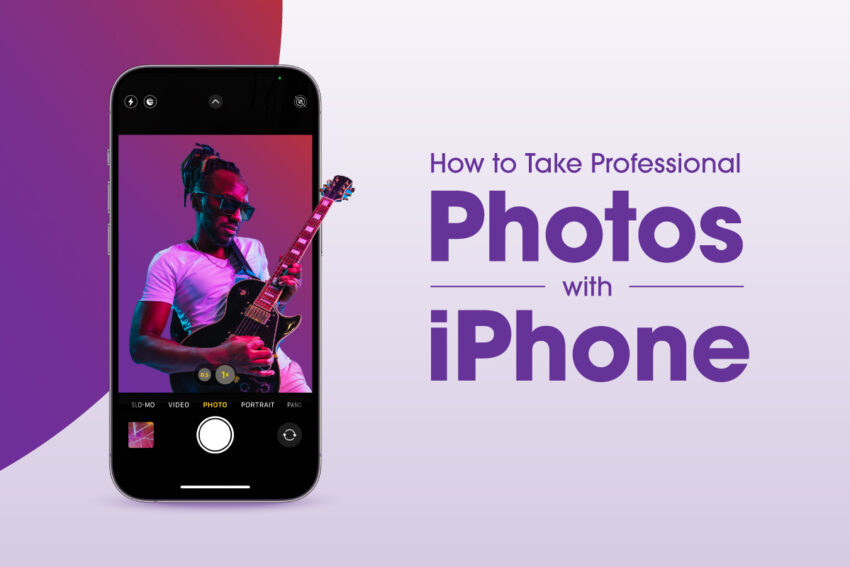
How to Take Professional Photos with iPhone
By Ultra Team
Updated April 24, 2024
Taking high-quality professional photos isn’t just for photographers anymore. You have all you need to achieve sleek, professional photos with the iPhone in your pocket. Whether you want a polished headshot for work or a sweet portrait of a loved one, here are 5 easy tips that will take your iPhone photography skills to the next level.
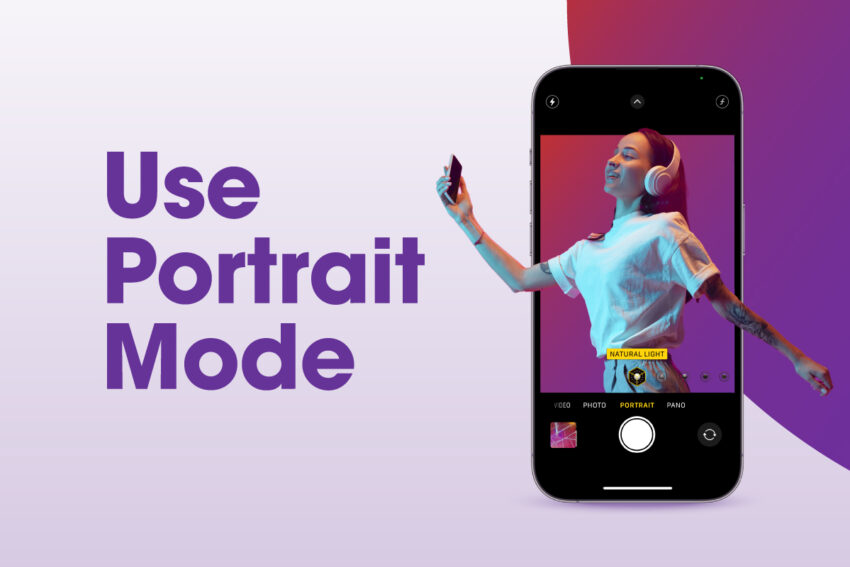
1. Use Portrait Mode
In your iPhone’s camera app, there’s a feature called “Portrait Mode”. It allows you to find the best lighting for your photo. For professional-looking photos, we recommend the following options:
- Natural Light: the subject is in focus, but the background is blurred
- Studio Light: the subject is brightly lit
- Contour Light: adds subtle shadows to the subject
These lighting options help keep your photo’s subject lit with clean and crisp definition. For a more dramatic look, you can consider:
- Stage Light: the spotlight is on subject and the background is darkened
- Stage Light Mono: this is similar to Stage Light, but in black and white
- High-Key Light Mono: the subject is in greyscale against a white background
Scroll through all of these options to find the one that suits your image the best.
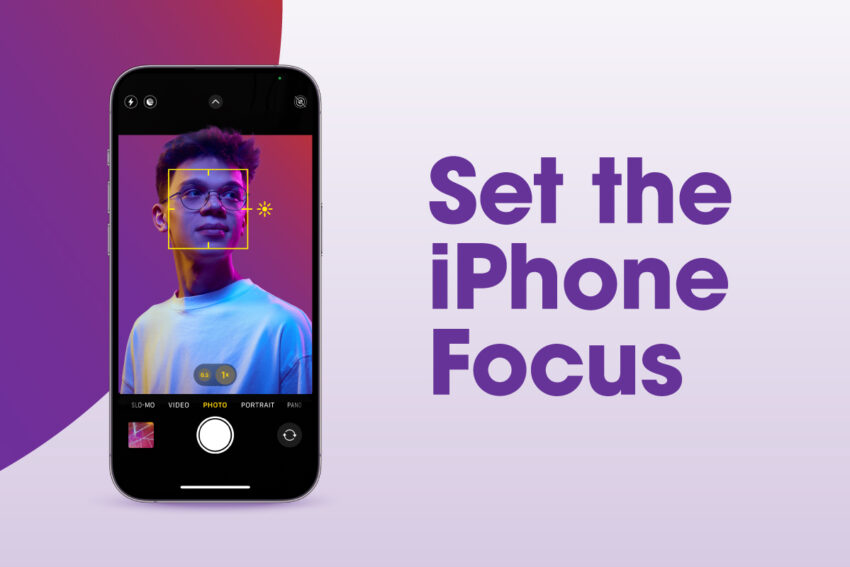
2. Set the iPhone Focus
When a photo is in focus, it means that its subject is clear and visible. A photo with an out-of-focus subject looks blurry and amateurish. To set the focus, follow these steps:
- Frame your shot
- Tap on the subject of your image
The iPhone will automatically focus on where you tapped, bringing your subject to the foreground of the image. As a rule of thumb, you want your subject in focus with your background slightly out of focus.
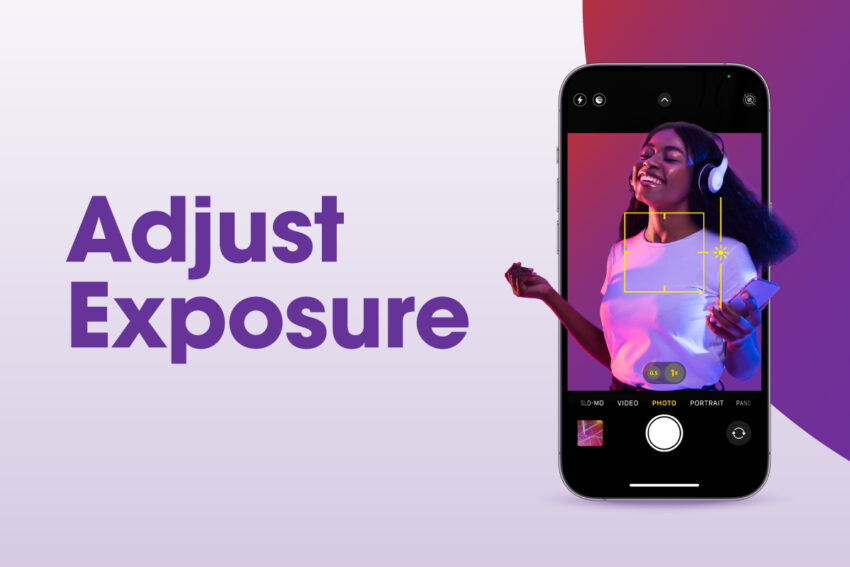
3. Adjust Exposure
Exposure is used to describe the brightness of a photo. If you don’t adjust your exposure, your photo will either be too bright (overexposed) or too dark (underexposed). If you’re not sure if your photo is overexposed, here are some signs:
- Your photo appears completely white with very few shadows
- It was taken in harsh or direct sunlight
And if it’s underexposed:
- It appears dark and lacks any detail
- It was taken in a dimly lit area or at nighttime
Professional photos have an equal balance of both light and dark in their photos, so the subject is well-lit and image details can be seen.
How to Adjust Exposure
To adjust the exposure, tap on your screen to reveal the automatic focus and a small sun icon “☀”. Drag the sun icon up to make the image bright and drag down to make it darker.
“Pro-Tip”
Lower your exposure at concerts and performances to adjust for those bright stage lights!
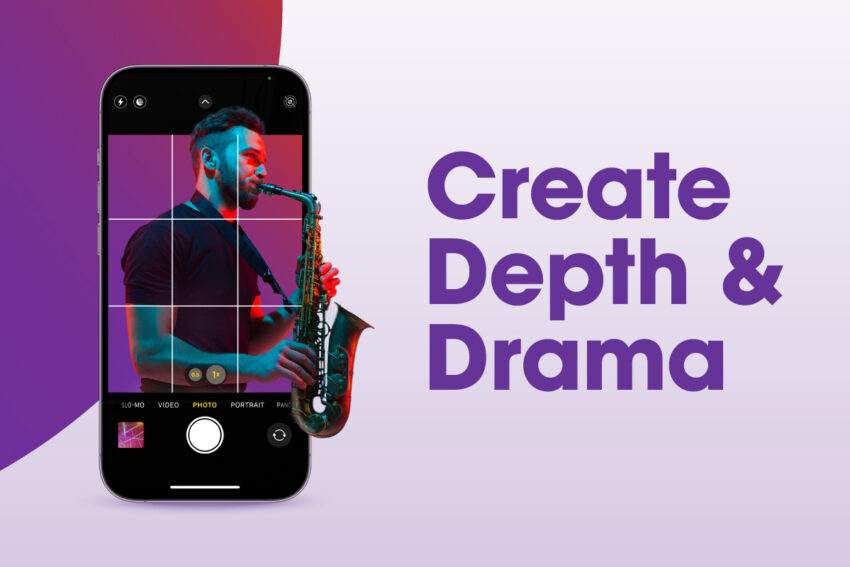
4. Create Depth and Drama Through Composition
Composition is how you arrange the different elements in your photo to create a dynamic, interesting image. It may be tempting to put your subject right in the center of your shot, but that placement isn’t the most pleasing to the eye.
Professionals use Fibonacci’s spiral to compose their shots. Fibonacci’s spiral is based on the golden ratio, which is a mathematical rule that explains where our eyes naturally focus. Basically, your eyes land on the innermost curl of the spiral.
It may be jarring to imagine a spiral over your photos, so here’s an iPhone camera trick that achieves the same effect:
- Go to Settings
- Go to Camera
- Turn on the switch labeled Grid
- A grid will now appear on your camera screen
- Position your subject where four grid corners intersect
For composing your selfies, go to the same iPhone camera settings and turn on your “Mirror Front Camera”. This way, your front camera will not be reversed, so you can align yourself perfectly for that profile picture.
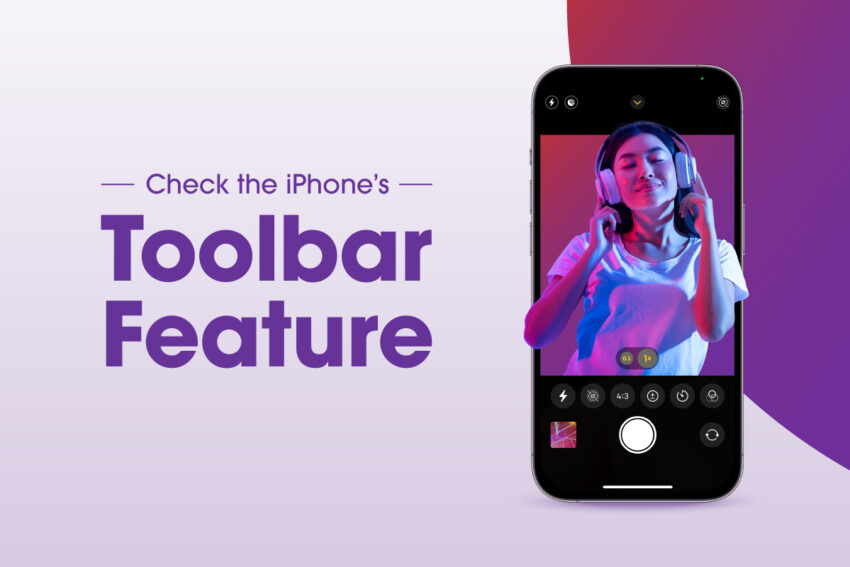
5. Check the iPhone’s Toolbar Feature
Familiarize yourself with the iPhone’s Camera Toolbar. In your Camera app, tap the arrow located at the top of your screen to access it. Here, you can adjust your flash, the live function (records a few seconds before and after your photo), filters, and other settings. If you’re taking photos of yourself by yourself, the most helpful feature in this toolbar is the Timer.
- Locate the Timer feature in your toolbar – indicated with a small clock “⏲”
- Select either 3 or 10 seconds
- Hit the shutter button and pose in front of your iPhone
Our final piece of advice? Practice! Our iPhone cameras are capable of so much, so the easiest way to learn all of their features is to experiment and take photos. Don’t be afraid of changing the settings in your Camera because you can always change them back. So play with these iPhone camera tricks, take photos, and have fun!


